This post will talk about how I built my own FreeNAS box, including a short review of the components used. I will also try to mention all the problems and pitfalls that I can remember.
Components used
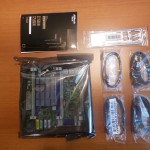
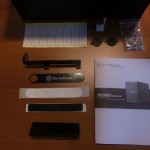
- ASRock C2550D4I
- SilverStone DS380
- SilverStone SST-ST30SF
- Crucial 8GB ECC DDR3-1600 CT102472BD160B
- 4x HGST Deskstar NAS 4TB
- Lian-Li PT-FN03
- Internal USB header to 2x female adapter
- 4GB USB stick
Component mini reviews
ASrock C2550D4I
This motherboard is the perfect choice for a NAS box. It has a low power Atom processor, passively cooled, micro ITX and most importantly.. 12 freaking SATA ports. Which means you won’t even need an add-on card for the build. It also comes with 2 Ethernet ports and a dedicate IPMI.
The good:
- low power, silent
- 12 SATA ports
- 2 Gigabit LAN ports and dedicated IPMI port
- nice web management interface
- good manual
- no other manufacturer provides anything similar to this motherboard
The bad:
- no USB 3.0 header which means the front USB on DS380 is completely useless (unless you get a PCI-E USB controller)
- only 3 USB 2.0 ports, either 1 front and 2 back or vice-versa (again, unless you get a PCI-E USB controller)
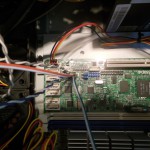
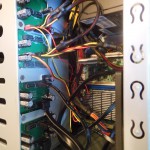
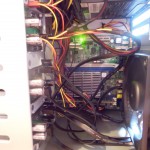
- in configuration with DS380, the ATX power connector is on the “wrong” side which means that the ATX cable has to go all across the motherboard. In a normal computer case this wouldn’t be an issue though
- price
Bough on amazon.de for 301€
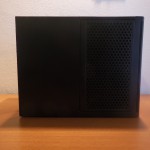
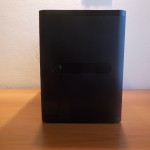
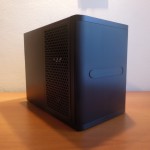
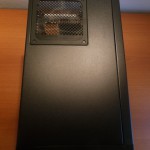
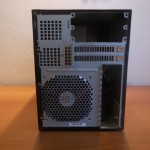
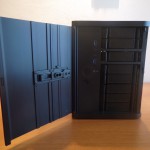
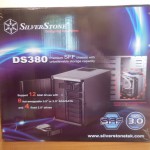
SilverStone DS380
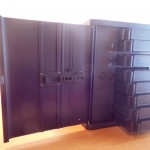
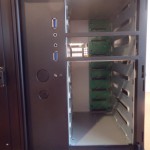
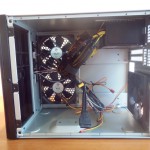
This case is pretty much perfect for a NAS box. It has eight 3.5″ hot swap bays and additional 4 internal 2.5″ bays. You also don’t need to worry about providing 12 SATA power cables because it has a circuit with 2 molex input connectors which power all 8 hot-swap bays.. no Y splitters needed.
The good:
- eight 3.5″ hot-swap bays and four 2.5″ internal bays
- premium look-and-feel
- removable dust filters on all intakes
- hot-swap circuit which also supplies power
- the 2.5″ cage is removable
- front USB and sound is removable
The bad:
- the fans are not the most silent on the planet
- the manual is not the most accurate
- the hot-swap circuit has two fan headers for the two side fans but if you use them, you can’t control them from the BIOS at all
- there is nothing to soften the vibrations from the drives in the caddies or the cage. Putting your hand on the case noticeably silences the system so improvements could be made.
- price
Bought from local online shop for 182€
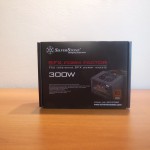
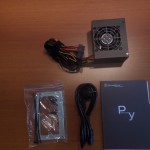
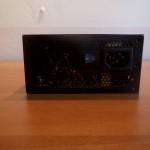
SilverStone SST-ST30SF
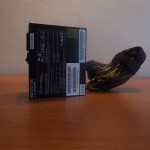
We need a SFX power supply for our case and there are not that many on the market to choose from. This is a very silent 300W power supply which is more than enough for everything we need. It just happened to be in my local online shop, the price was good and it matched the case so I went with it.
The good:
- so far I haven’t even seen the fan to spin up so this is effectively a passively cooled power supply
- premium look-and-feel
The bad:
- the ATX cable could be longer. It barely reaches the motherboard connector which means you can’t really move it away if something else is blocking the path.. and since it goes all across the motherboard it bumps into the USB stick that holds FreeNAS, at least in my case.
- it would be great if this was modular because we don’t really need anything but ATX and 2x molex for the build (unless you use the internal bays)
Bought from local online shop for 60€
Crucial 8GB ECC DDR3-1600 CT102472BD160B
The only reason I went with this is because it was on ASrock memory QVL list and one of the only 8GB sticks from a somewhat reputable manufacturer. I got only one due to budget constraints but there are 3 slots left to upgrade at any time.
Bought from local online shop for 90€
4x HGST Deskstar NAS 4TB
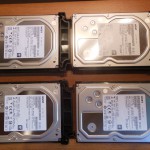
I bough 4 of these, mainly because they are from HGST which I had a great experience with so far and the fact that they are 7200 RPM NAS drives. Online reviews also hinted that they beat WD Reds and Seagate NAS drives so I went with them.
The good:
- HGST
- price
The bad:
- 4 of these spinning cause a lot of noise and you can hear them from quite far away. This is also the main source of noise in the build, everything else is relatively silent.
Bough from local online shop for 480€
Lian-Li PT-FN03
I bough this fan controller mainly because it fits in the PCI slot while most other controllers fit into the front of the case. The reason why I even got this is because I could not control the fans from BIOS at all so they were spinning at full speed all the time. But on the end it did not really matter much because the 4 disks are so loud that you don’t even care about the fan noise. Looking from that perspective it was probably a failed purchase. Other than that it works ok and it comes with a molex splitter so you are not losing any connectors from your power supply.
Bough from amazon.de for 15€
USB header adapter and stick
If you want to put the USB stick with FreeNAS inside the case you need to buy a USB header to female (normally 2x female) adapter. By default, the ASrock motherboard has 2 USBs active at the back and one at the front header, so only one of the female connectors on the adapter will actually work. If you can’t see the USB stick as bootable option in the BIOS, this might be the problem. Simply put the USB stick in the other slot.
Total cost
Roughly 1200€
The build
Fan controller was not used in this guide.
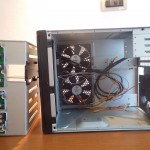
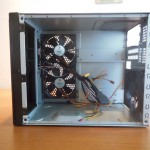
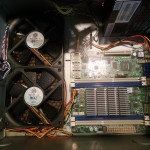
- Open the case, remove both cages. Optionally remove the front IO if you won’t need it
- Mount the power supply
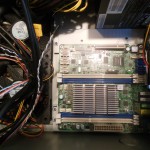
- Mount the motherboard
- Insert the RAM
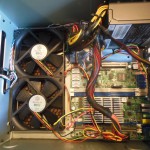
- Plug in all the fans, front IO and ATX power
- Plug in all SATA cables into the motherboard. I suggest you start with the Intel ones (see manual for which is which). If you use regular HDDs use SATA 2 first and leave SATA 3 for the future (perhaps for SSDs).
- Plug in the USB header adapter and your FreeNAS stick. Note that if you have header->2x female adapter, one of them will be disabled by default.
- Put the 3.5″ cage back in, leave the 2.5″ one if you won’t use it at this point
- Plug 2x molex and SATA cables into the cage
- Put the hard drives in caddies and insert them
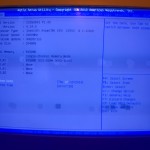
- You should now be ready to boot. Enter BIOS, set the USB as first boot option and off you go
One thing I am not 100% sure is how to access the BIOS through IPMI to set the boot options (so we don’t have to plug in the monitor and keyboard). The management software on the motherboard should have a default IP out of the box but I am not sure how you get to know the IP without checking it out in the BIOS. Tips welcome.
Other than that, the Megarac Management Platform that ASrock provides is very nice. It allows you to see the console output and power ON/OFF the server from your workstation.
Once FreeNAS boots it will output the web UI IP in the console. The other way you can figure out the IP is to open your router and check the DHCP table.
Conclusion
I ended up with creating a raidz2 zpool which turns out to be roughly 8TB of empty space. The reason I chose raidz2 is because when a disk dies I can comfortably send it to repair or buy a new one. This can take a few weeks so running in degraded state in case of raidz1 is probably not the smartest thing to do.
There are a few things that can be extended and improved in the future. I still have place for four 3.5″ drives and since the single drive sizes are already at 6TB I will probably just create a new zpool when I need it. I also have four 2.5″ bays still available inside the case so I could potentially buy SSDs when they become even cheaper and have greater capacities. 24GB of RAM can also be added.
The PCI-E 8x slot is unused at the moment. I could throw a GPU in there and have the box work as a HTPC machine although the noise from the hard drives would not be welcome anywhere near TV. The slot could also be used for additional USB 3.0 headers, so the front panel would actually be usable.
With all this expandability in mind, I am probably good for 5+ years in terms of storage.
 Cen
Cen